目次
1.Nugetパッケージのインストール
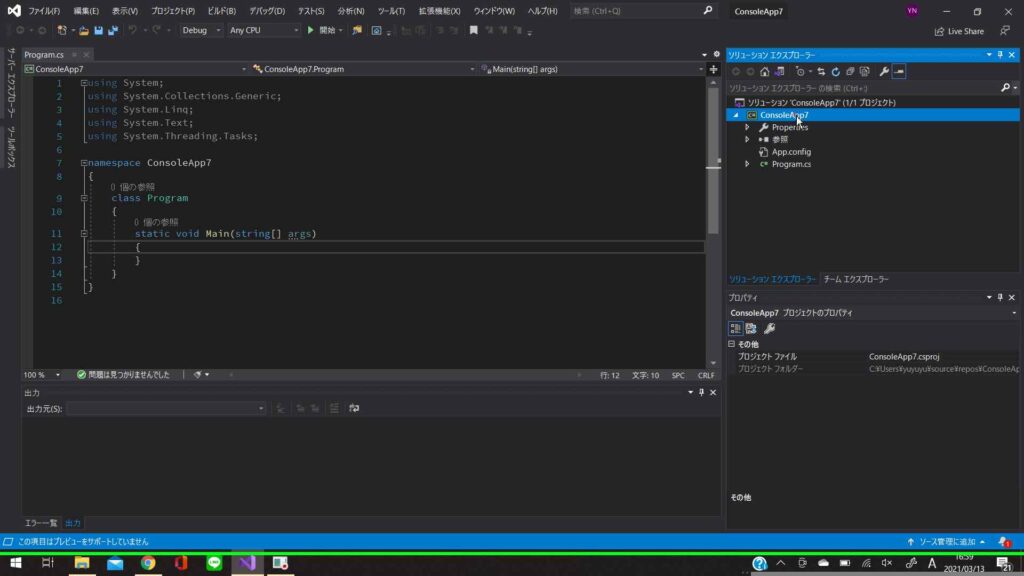
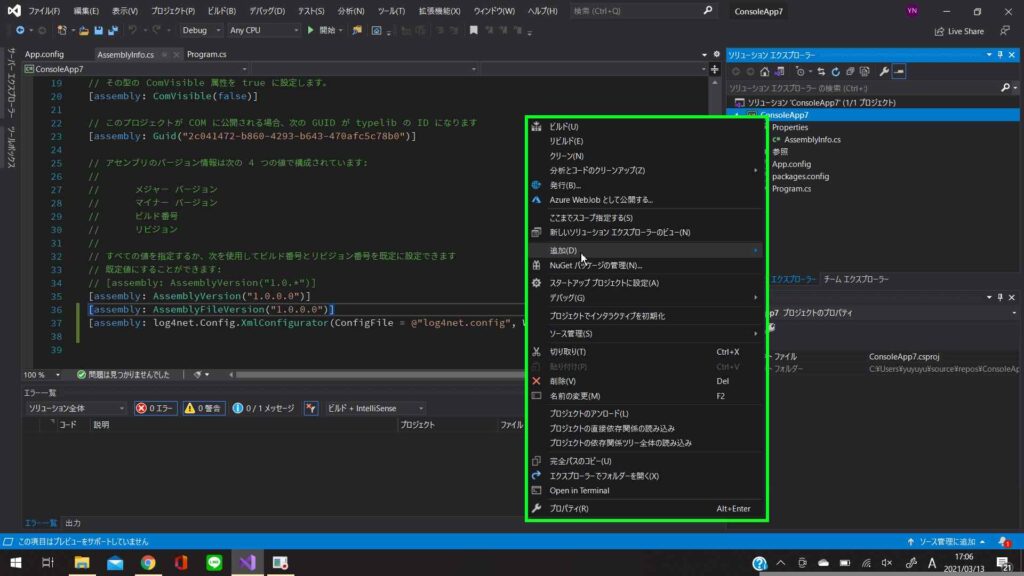
log4netをインストールしたいプロジェクトを右クリックする
![](https://mikan-tech.info/wp-content/uploads/2021/03/screenshot0004-1024x576.jpeg)
![](https://mikan-tech.info/wp-content/uploads/2021/03/screenshot0005-1024x576.jpeg)
![](https://mikan-tech.info/wp-content/uploads/2021/03/screenshot0009-1024x576.jpeg)
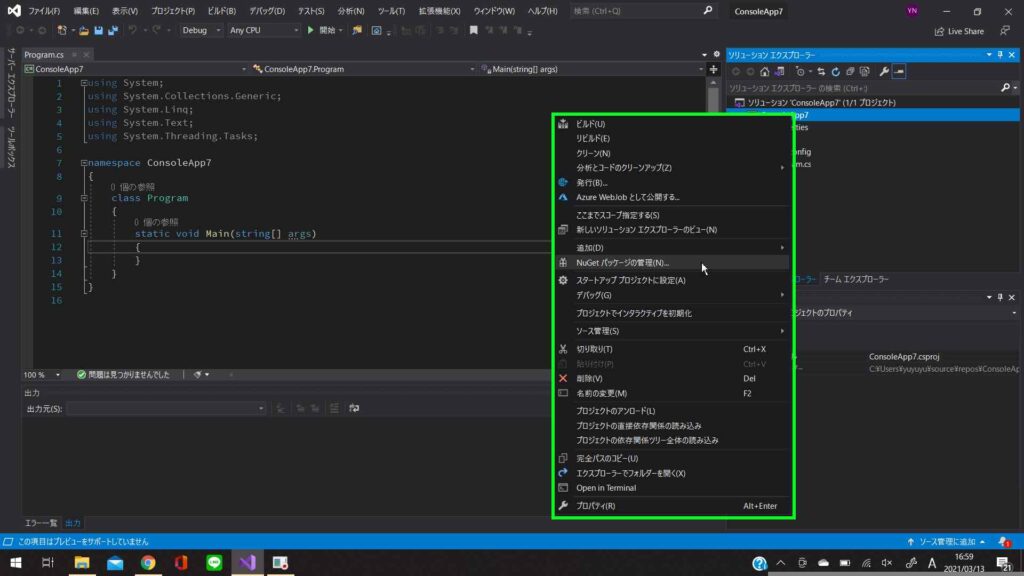
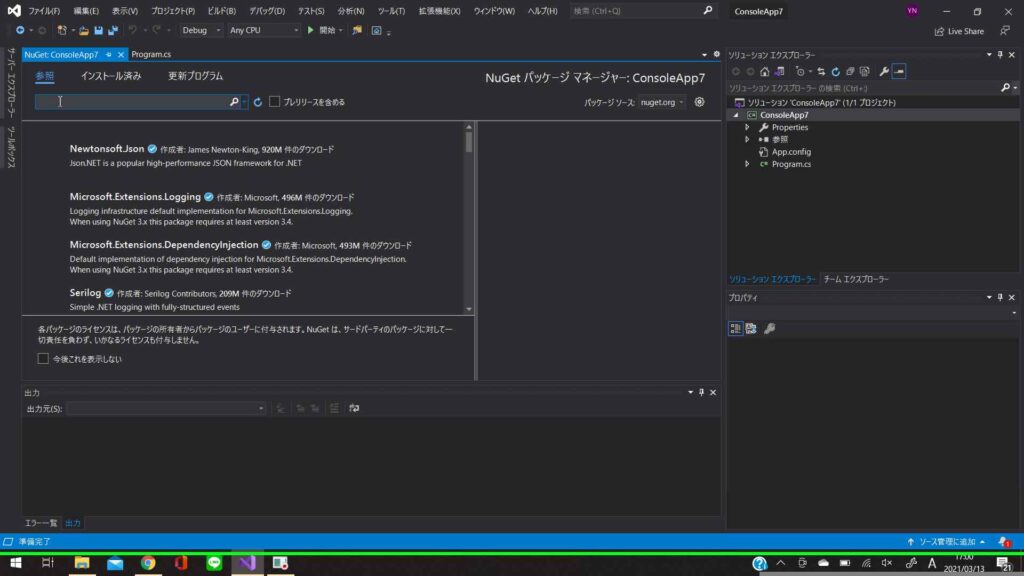
Nugetパッケージの管理でlog4netを検索する
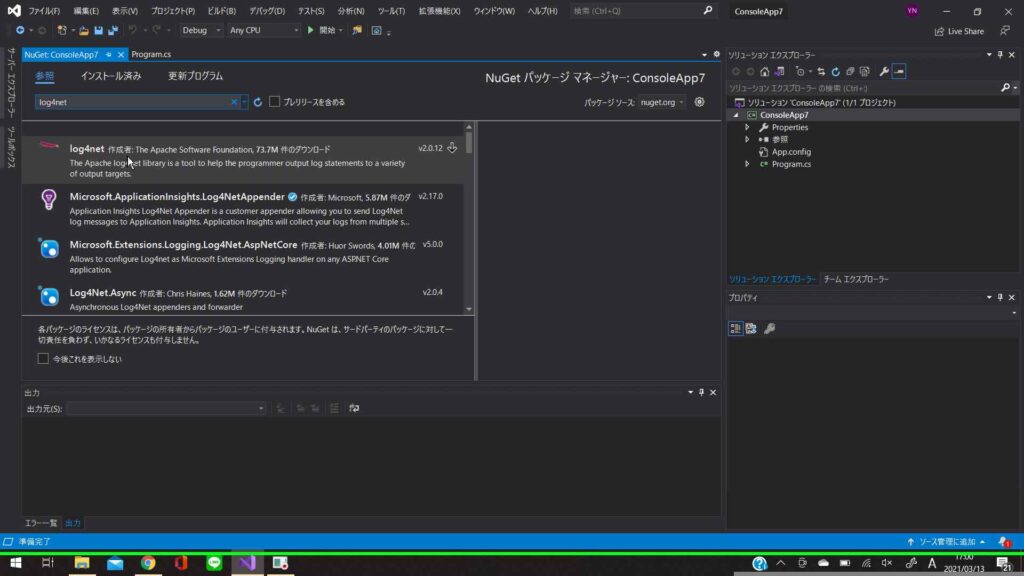
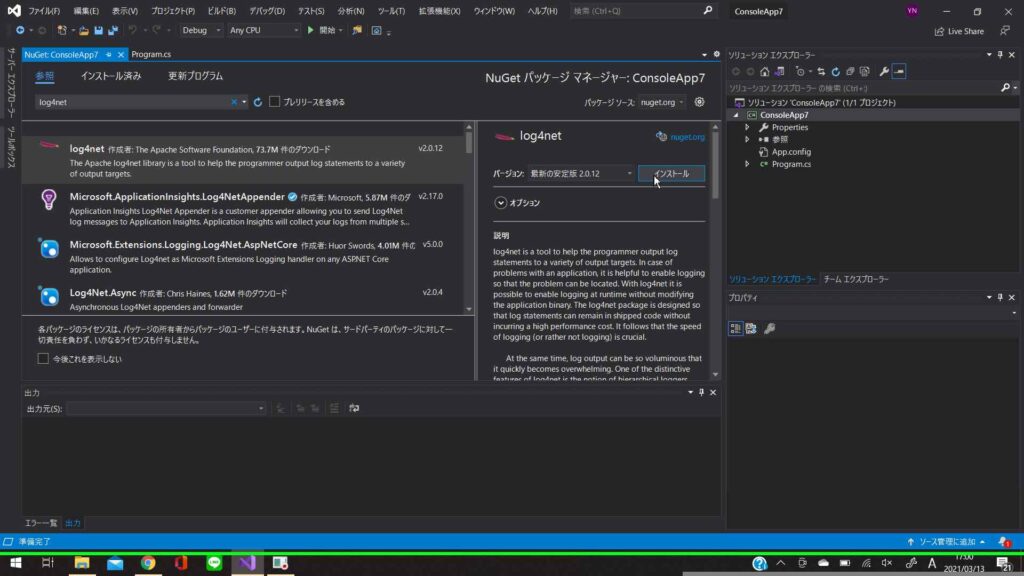
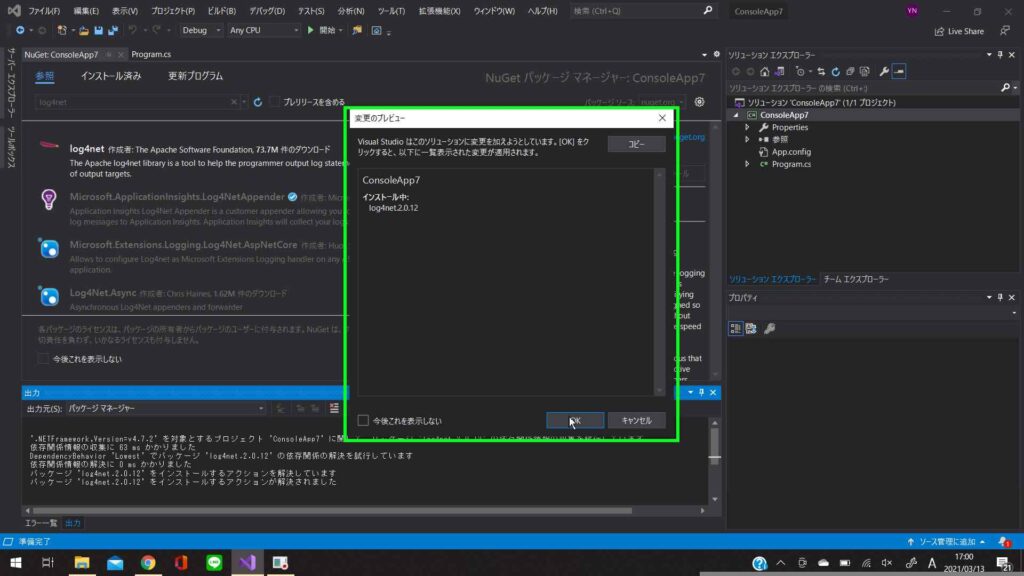
![](https://mikan-tech.info/wp-content/uploads/2021/03/screenshot0010-1024x576.jpeg)
![](https://mikan-tech.info/wp-content/uploads/2021/03/screenshot0011-1024x576.jpeg)
インストール
![](https://mikan-tech.info/wp-content/uploads/2021/03/screenshot0012-1024x576.jpeg)
![](https://mikan-tech.info/wp-content/uploads/2021/03/screenshot0013-1024x576.jpeg)
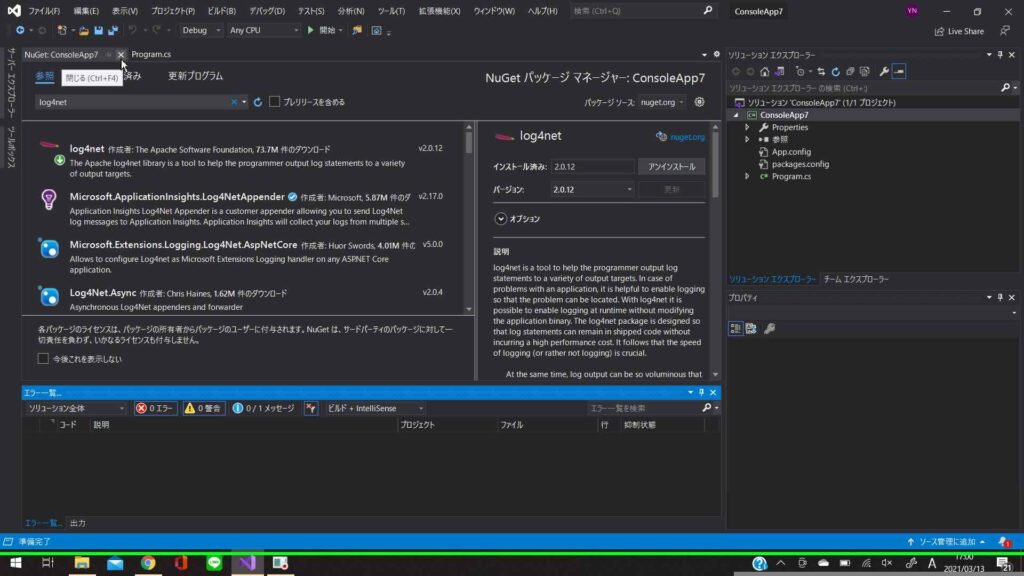
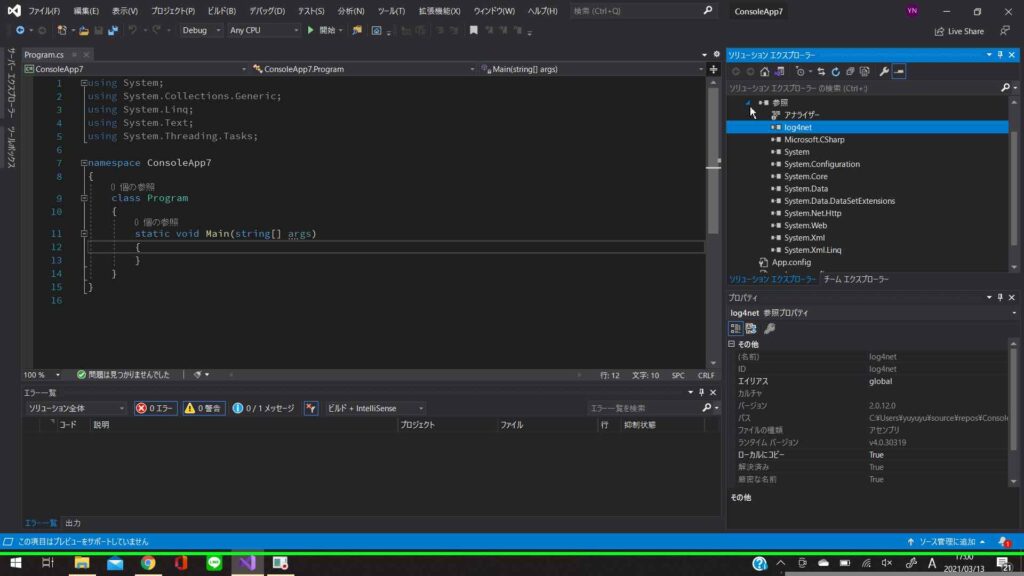
参照にlog4netが追加されていることを確認する
![](https://mikan-tech.info/wp-content/uploads/2021/03/screenshot0016-1024x576.jpeg)
2.AssemblyInfoの編集
※プログラム内で設定ファイルを指定する場合はこれは実行しなくてもよい
![](https://mikan-tech.info/wp-content/uploads/2021/03/screenshot0019-1024x576.jpeg)
![](https://mikan-tech.info/wp-content/uploads/2021/03/screenshot0072-1024x576.jpeg)
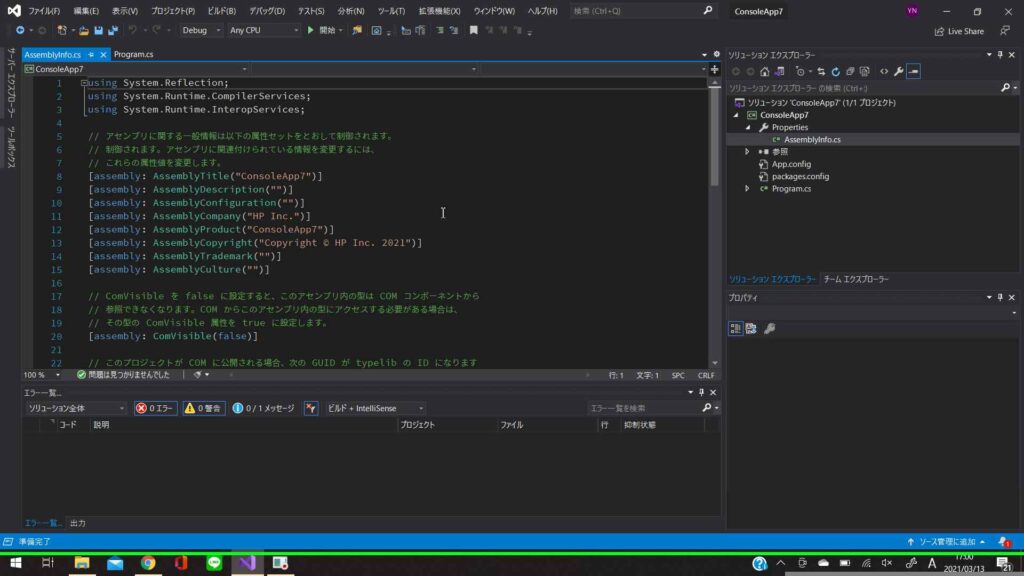
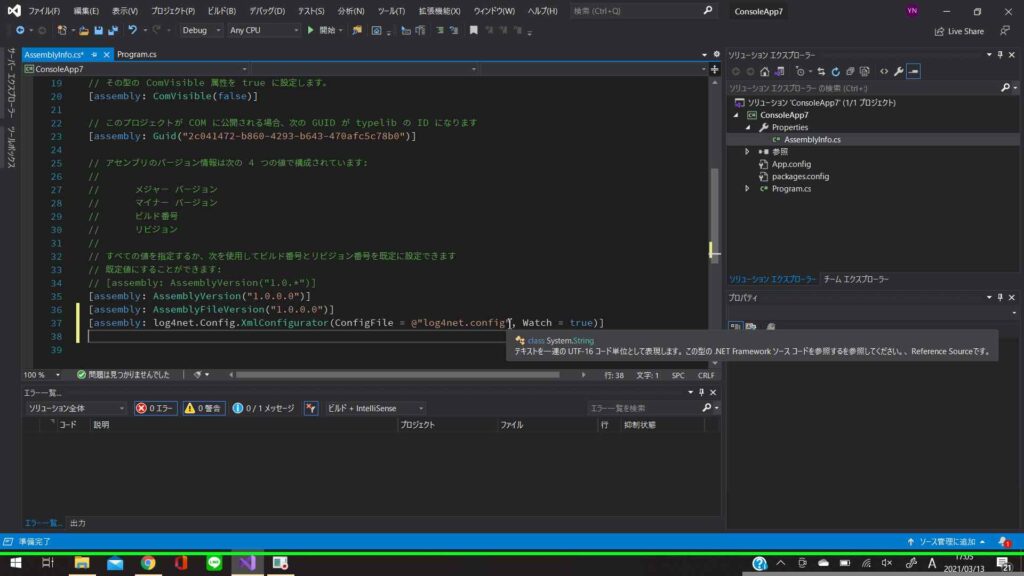
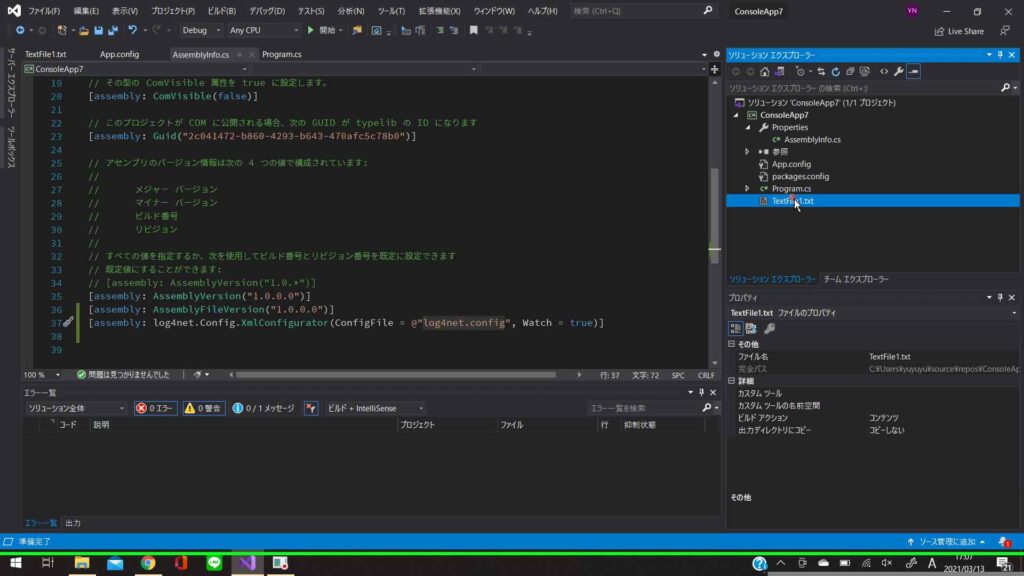
AssemblyInfo.csの末尾に以下のコードを追加する
[assembly: log4net.Config.XmlConfigurator(ConfigFile = @"設定ファイル名", Watch = true)]
3.設定ファイルの作成
![](https://mikan-tech.info/wp-content/uploads/2021/03/screenshot0088-1024x576.jpeg)
![](https://mikan-tech.info/wp-content/uploads/2021/03/screenshot0089-1024x576.jpeg)
![](https://mikan-tech.info/wp-content/uploads/2021/03/screenshot0095-1024x576.jpeg)
![](https://mikan-tech.info/wp-content/uploads/2021/03/screenshot0096-1024x576.jpeg)
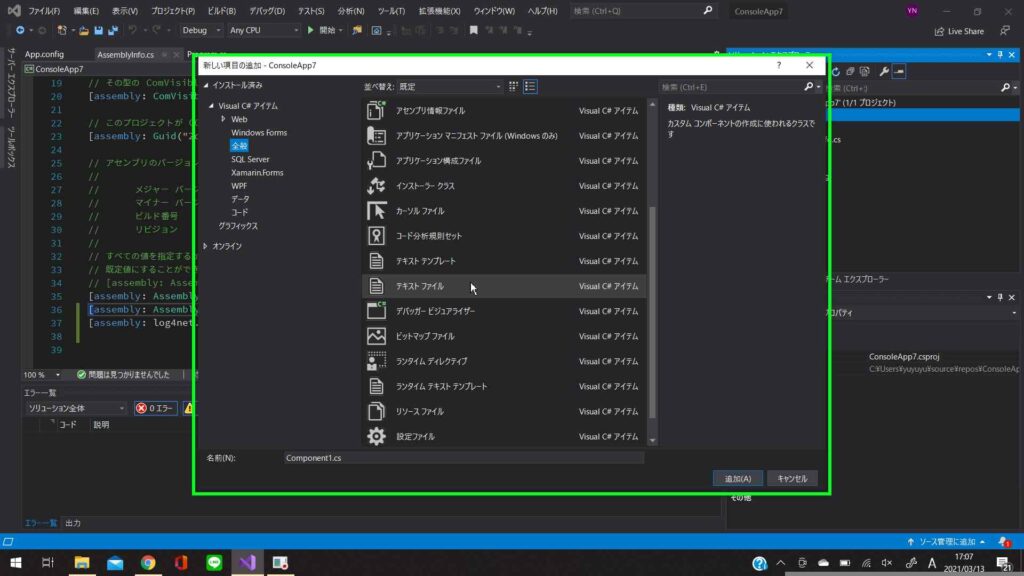
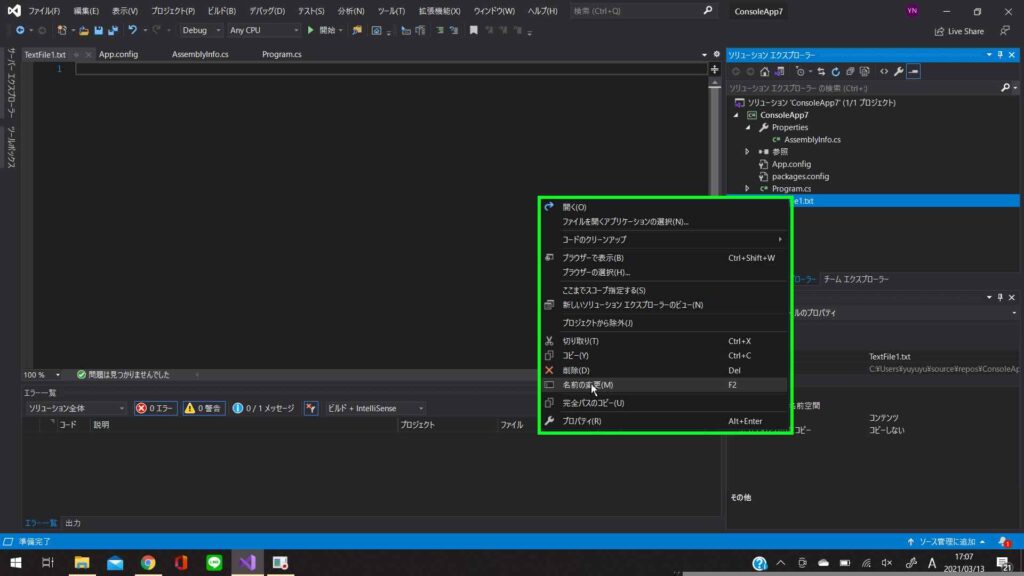
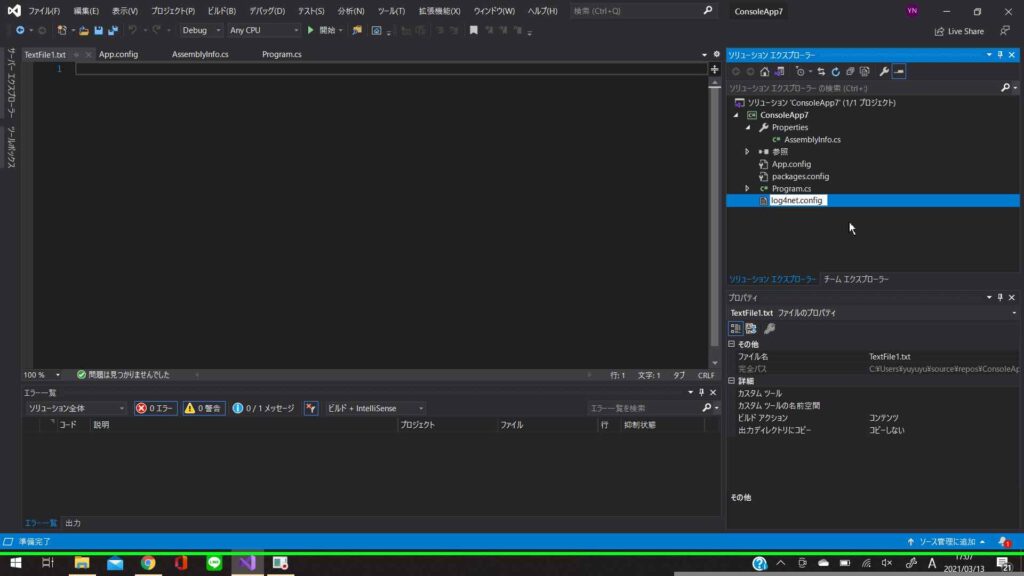
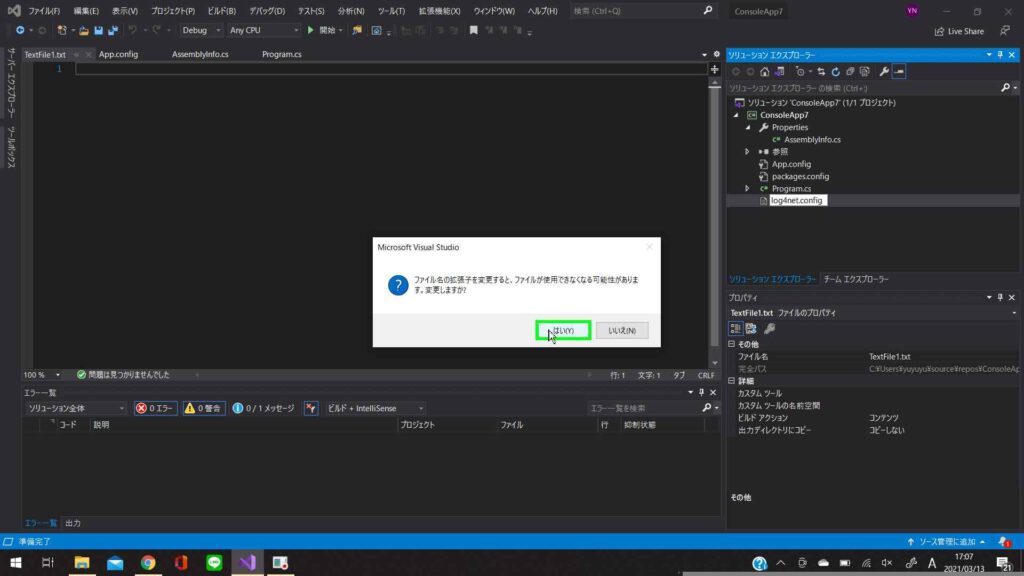
作成したテキストファイルをAssemblyInfo.csで指定した設定ファイル名に変更する
![](https://mikan-tech.info/wp-content/uploads/2021/03/screenshot0105-1024x576.jpeg)
![](https://mikan-tech.info/wp-content/uploads/2021/03/screenshot0106-1024x576.jpeg)
![](https://mikan-tech.info/wp-content/uploads/2021/03/screenshot0108-1024x576.jpeg)
![](https://mikan-tech.info/wp-content/uploads/2021/03/screenshot0109-1024x576.jpeg)
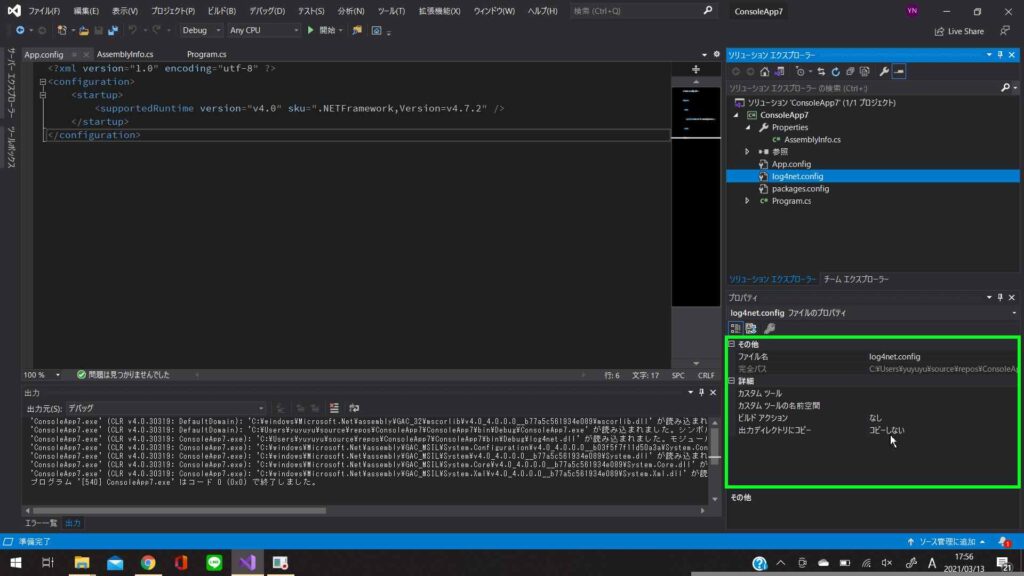
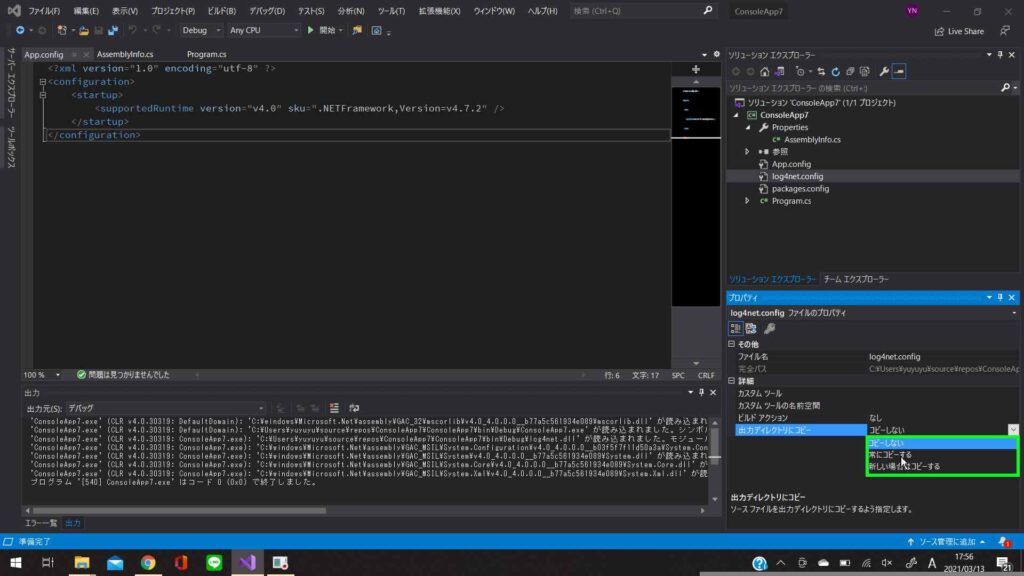
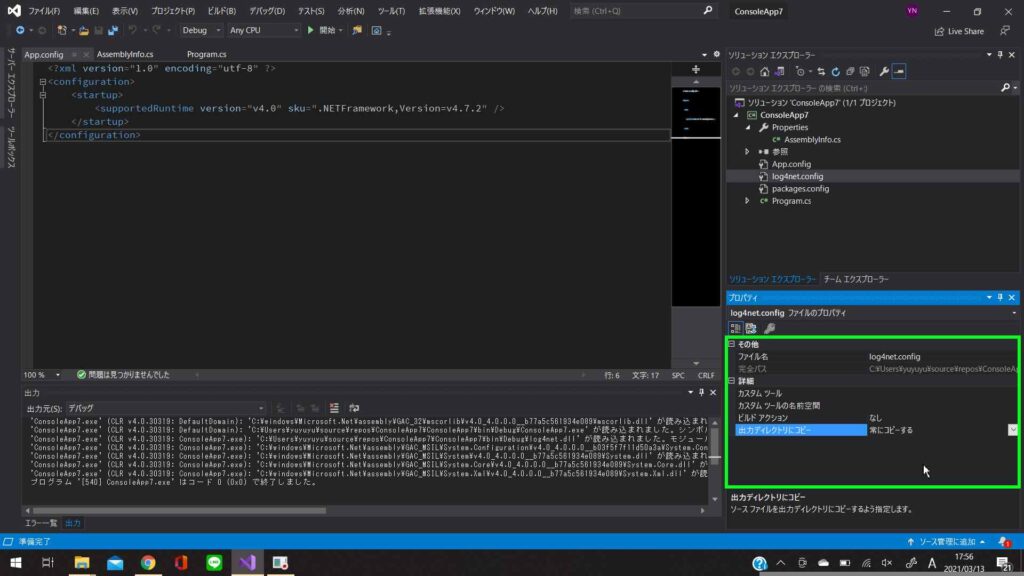
4.設定ファイルの出力設定(忘れがちなので注意!)
コンパイル時、設定ファイルが出力としてコピーされるようにする
※設定しない場合は設定した場所に手動で設定ファイルを置く
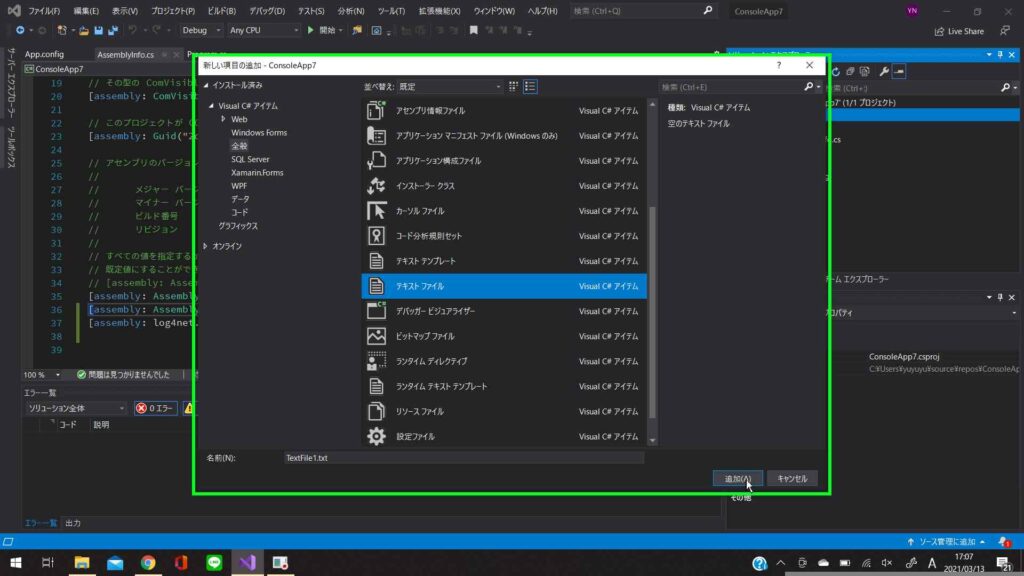
![](https://mikan-tech.info/wp-content/uploads/2021/03/screenshot0002-1024x576.jpeg)
![](https://mikan-tech.info/wp-content/uploads/2021/03/screenshot0004-1-1024x576.jpeg)
![](https://mikan-tech.info/wp-content/uploads/2021/03/screenshot0005-1-1024x576.jpeg)
5.作成した設定ファイルに設定を書く
設定ファイルに以下の文言を記載すればとりあえず動く
<?xml version="1.0" encoding="utf-8" ?>
<configuration>
<log4net>
<appender name="log" type="log4net.Appender.RollingFileAppender">
<appendToFile value="true" />
<StaticLogFileName value="false" />
<rollingStyle value="Date" />
<file value="log" />
<DatePattern value='yyyyMMdd".log"' />
<layout type="log4net.Layout.PatternLayout">
<ConversionPattern value="%date [%-5level] - %message%n" />
</layout>
</appender>
<root>
<level value="ALL" />
<appender-ref ref="log" />
</root>
</log4net>
</configuration>
6.コードを書く
以下の文言を記載すればとりあえず動く
using System;
using System.Collections.Generic;
using System.Linq;
using System.Text;
using System.Threading.Tasks;
namespace ConsoleApp7
{
class Program
{
private static log4net.ILog logger = log4net.LogManager
.GetLogger(System.Reflection.MethodBase.GetCurrentMethod().DeclaringType);
static void Main(string[] args)
{
logger.Info("実行されたよ");
}
}
}